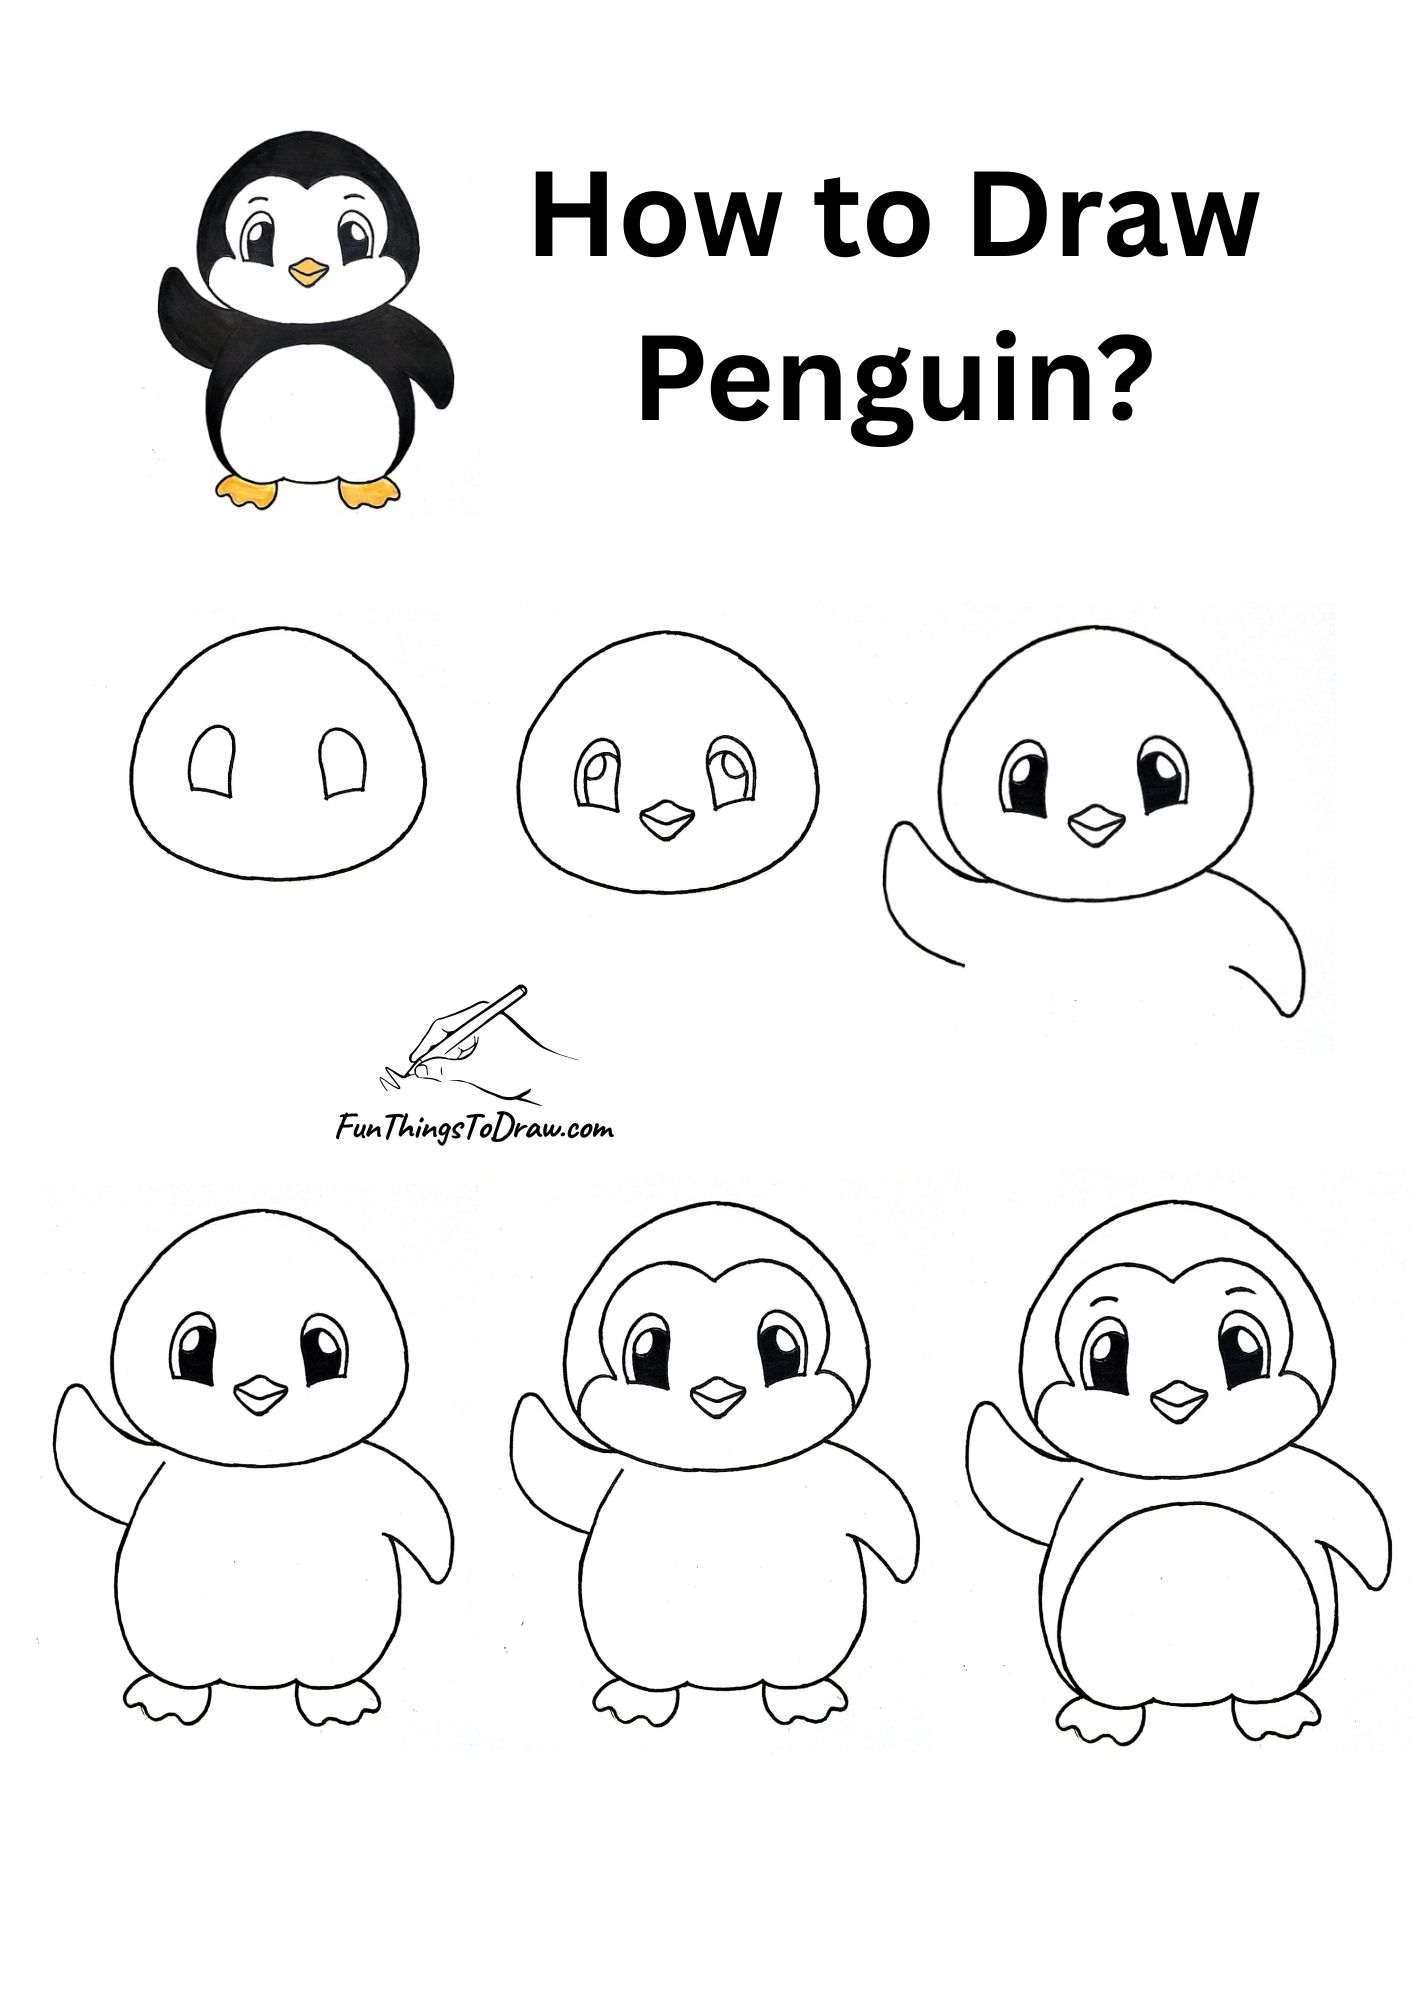
How to Draw Penguin? Step by Step Guide
Drawing a penguin is a delightful way to bring a bit of winter charm to your sketchbook, no matter the season. Penguins, with their iconic black and white feathers and playful personalities, are surprisingly simple to illustrate—even for beginners.
How to Draw Penguin?
By breaking down the drawing into easy-to-follow steps, you’ll discover how approachable and fun the process can be. Grab your pencil and let’s start drawing an adorable penguin.
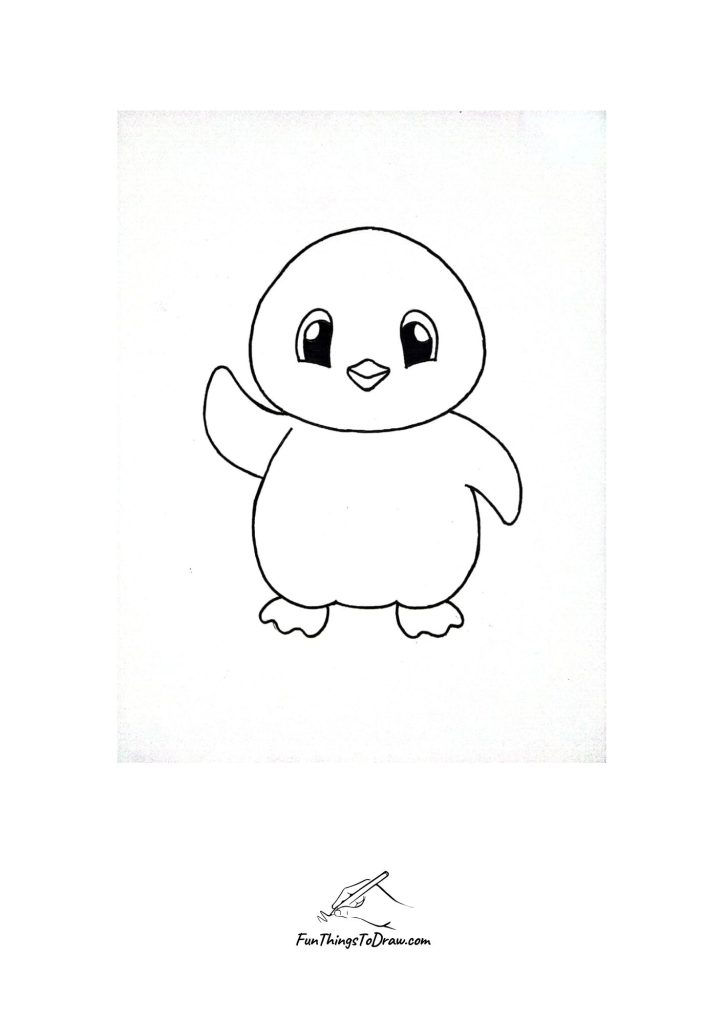
Step 1
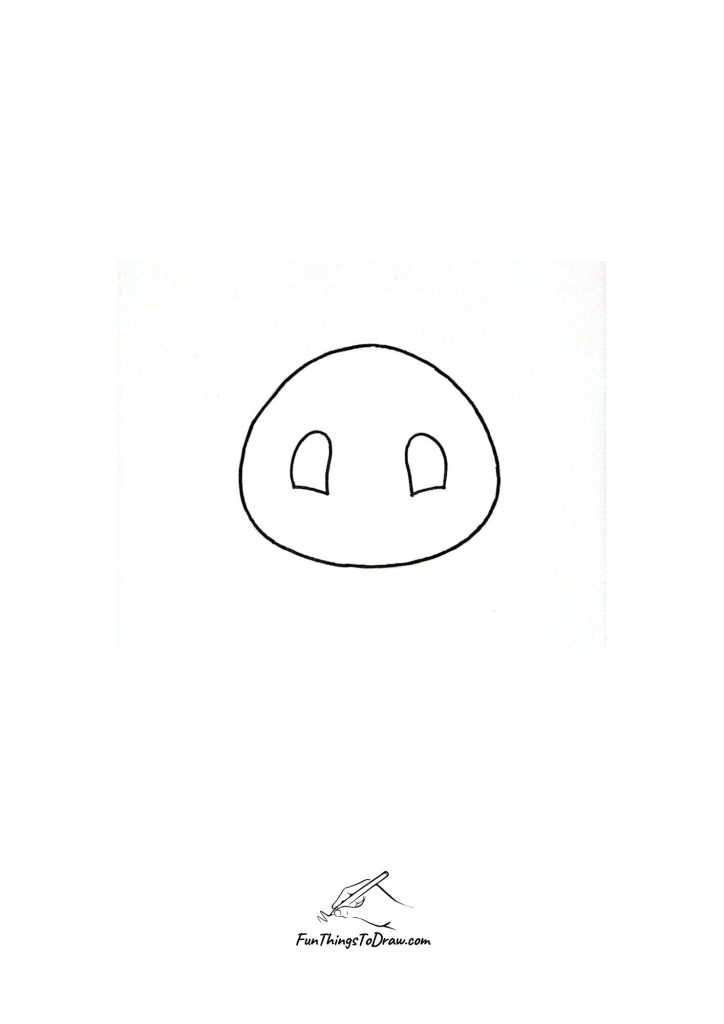
Begin by sketching a large, rounded oval shape in the center of the page—this will form the penguin’s head. Inside this oval, add two vertical oval shapes spaced apart; these will serve as the basic outlines for the penguin’s eyes. Don’t worry about making the shapes perfect—soft, rounded lines will give your penguin a cute and friendly appearance, setting the foundation for the rest of your drawing.
Step 2
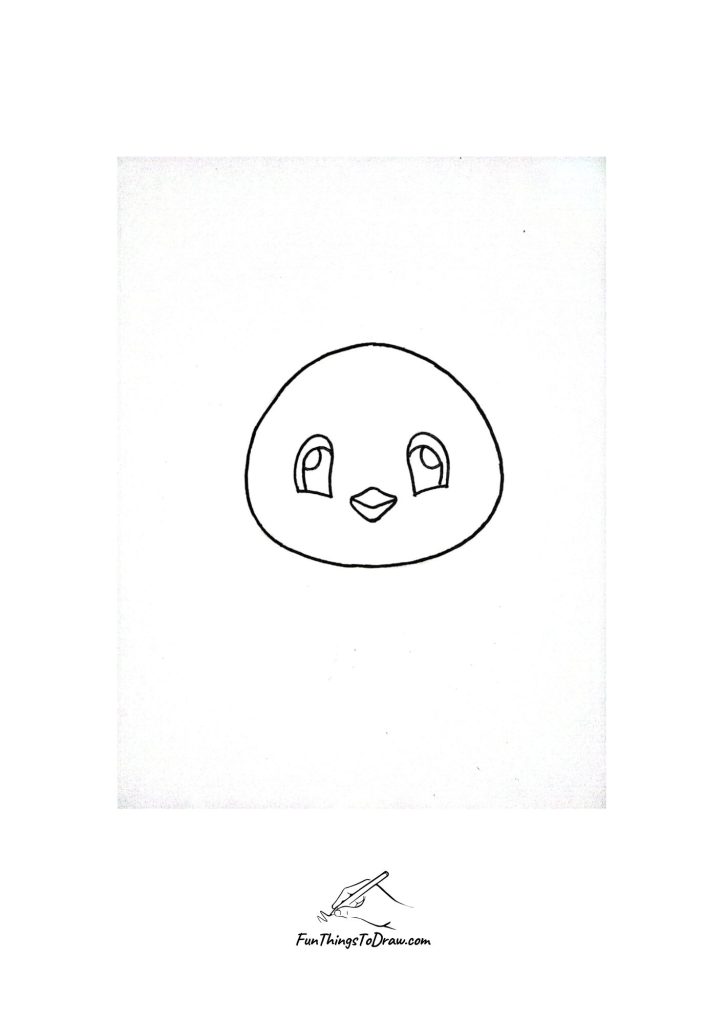
Next, refine the face by adding more detail to the eyes. Draw a smaller circle inside each eye shape to represent the pupils, and add a tiny highlight spot to make the eyes look lively. Then, sketch a small diamond shape between the eyes for the beak. Position the beak so it’s centered and slightly below the eyes, giving your penguin a sweet, expressive look
Step 3
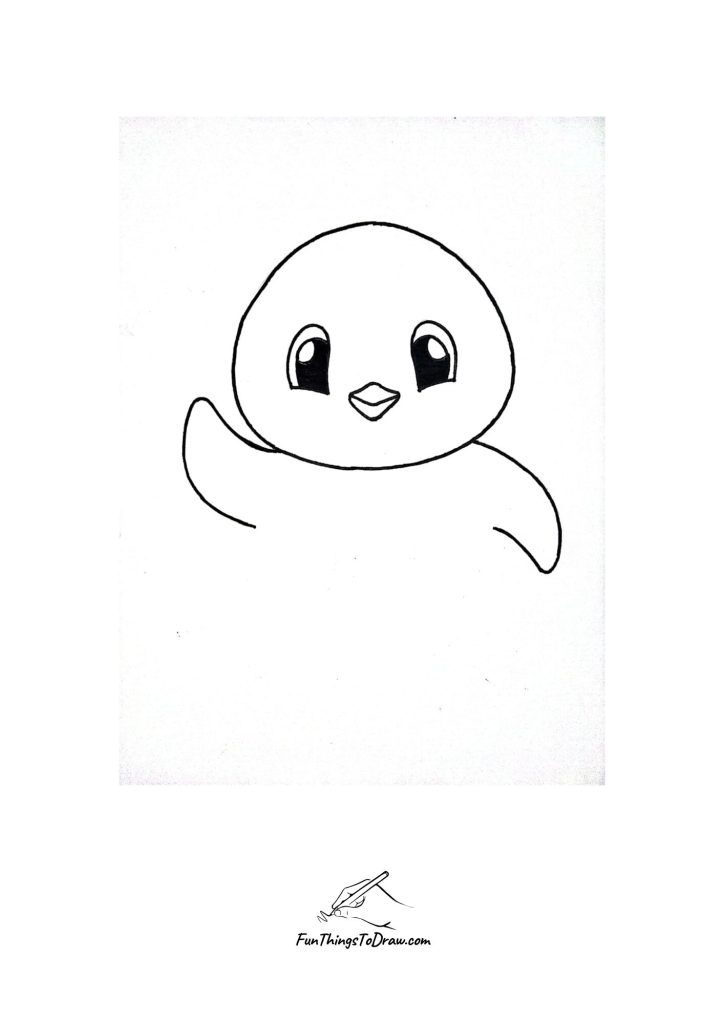
Now, it’s time to give your penguin some character by adding flippers. Starting from the sides of the head, draw two curved lines extending outward and then curving down—these will be the flippers. One flipper can be raised as if waving, while the other curves downward. This step brings your penguin to life and adds a sense of movement and personality to your drawing.
Step 4
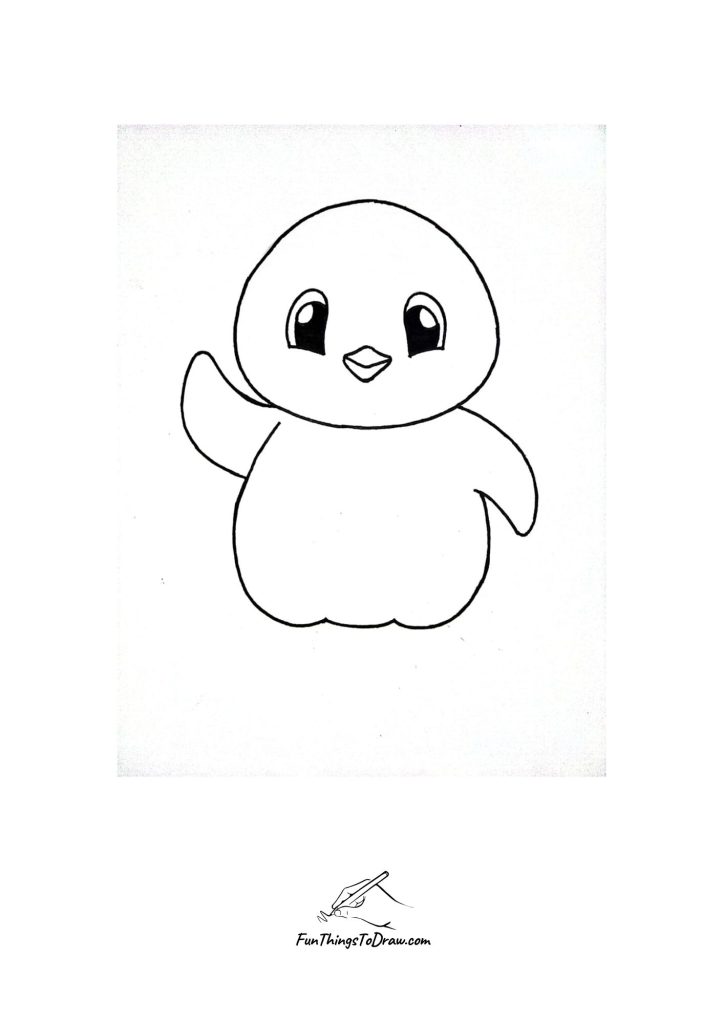
Finish your penguin by drawing the body. From beneath the head, sketch a large, rounded oval that connects to the flippers, forming the penguin’s belly and body. Add a gentle curve at the bottom to suggest the penguin’s feet. Make sure the body is proportionate to the head for a balanced, adorable look. Now your penguin drawing is complete and ready for extra details.
Step 5
In next step, add two small ovals at the bottom for the feet. Lightly draw these shapes, as they will serve as your guide for the penguin’s overall form. This foundation helps ensure your penguin looks balanced and cute.
Related: Animal Drawings
Step 6
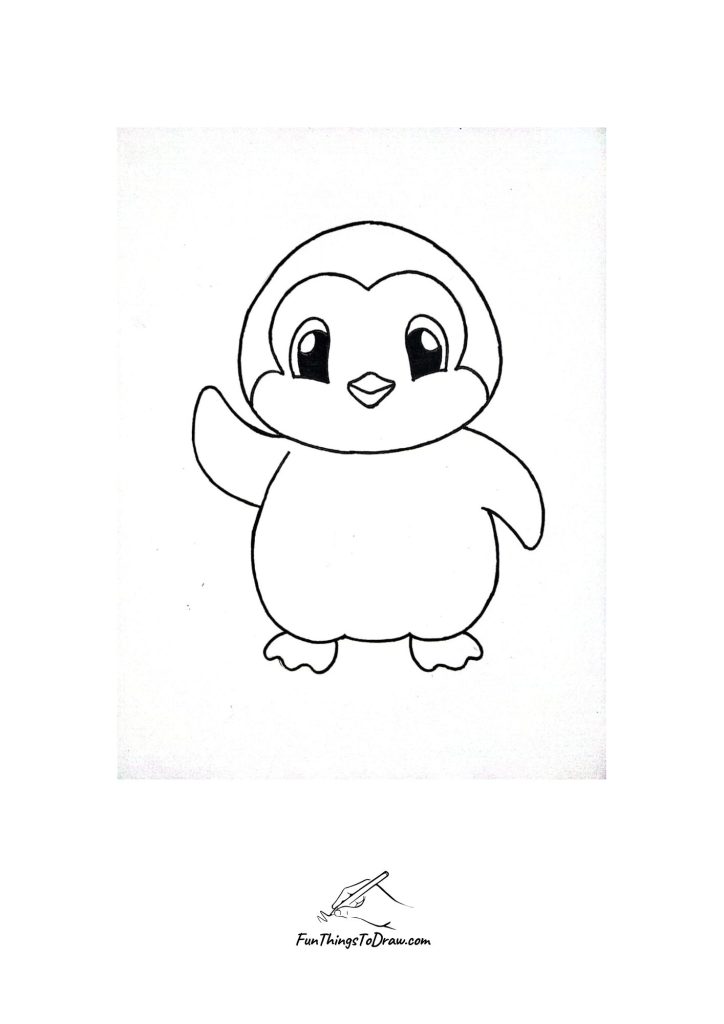
Now, focus on the penguin’s face. Draw a curvy shape around the eyes and beak. Side curves are small which make the cheeks and upper curves separate the white facial area from the darker head.
Step 7
Next, add a large oval on the belly to indicate the white belly patch. Add small lines above the eyes which serve as eye lashes. This step brings the penguin’s adorable features into focus and prepares it for coloring.
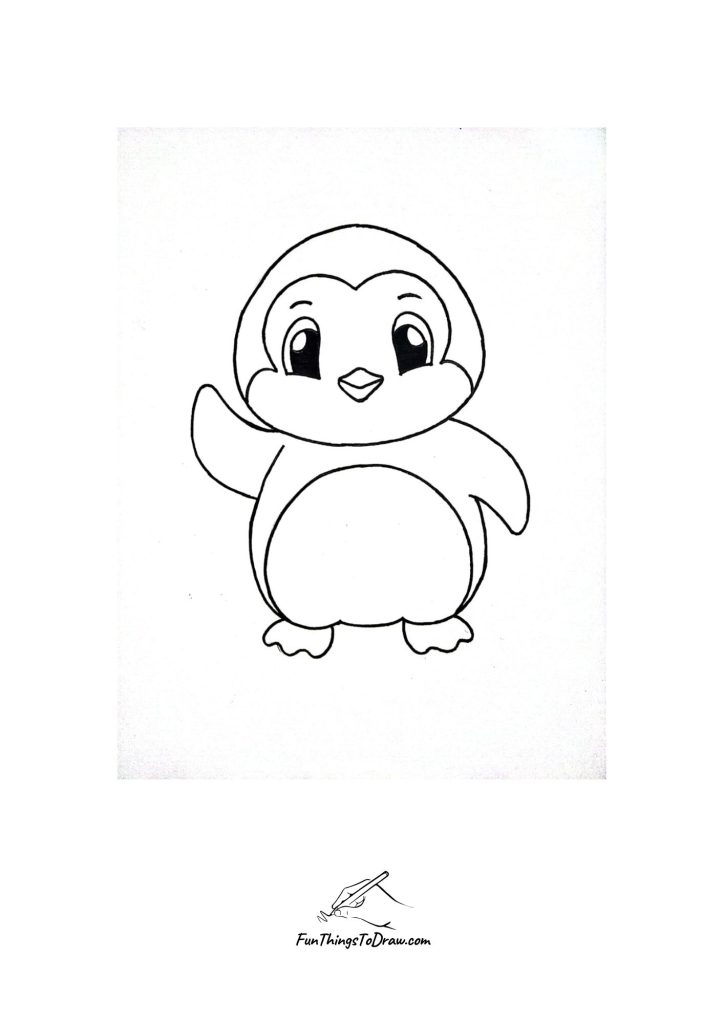
Step 8

Finish your penguin by adding color. Use black for the head, back, and flippers, leaving the face and belly white. Color the beak and feet orange for contrast. Carefully fill in the eyes, leaving the highlights white for a sparkling effect. Review your drawing and add any final details or touch-ups to enhance the overall look. Your cute penguin is now complete and ready to show off
See also: How to draw lungs?