How to Draw Lungs? Step by Step Easy Guide
Drawing lungs may seem challenging at first, but with a few simple steps, anyone can create a clear and accurate illustration of this vital organ. Whether you’re a student learning about human anatomy or an artist looking to expand your skills, understanding how to draw lungs will help you appreciate their unique structure and function.
In this guide, we’ll break down the process into easy-to-follow steps, making it approachable for beginners and enjoyable for all skill levels. Grab your pencil and paper, and let’s bring the fascinating world of the respiratory system to life through art!
How to Draw Lungs?
We have drawn lungs in 9 easy steps. Let’s start with step 1.
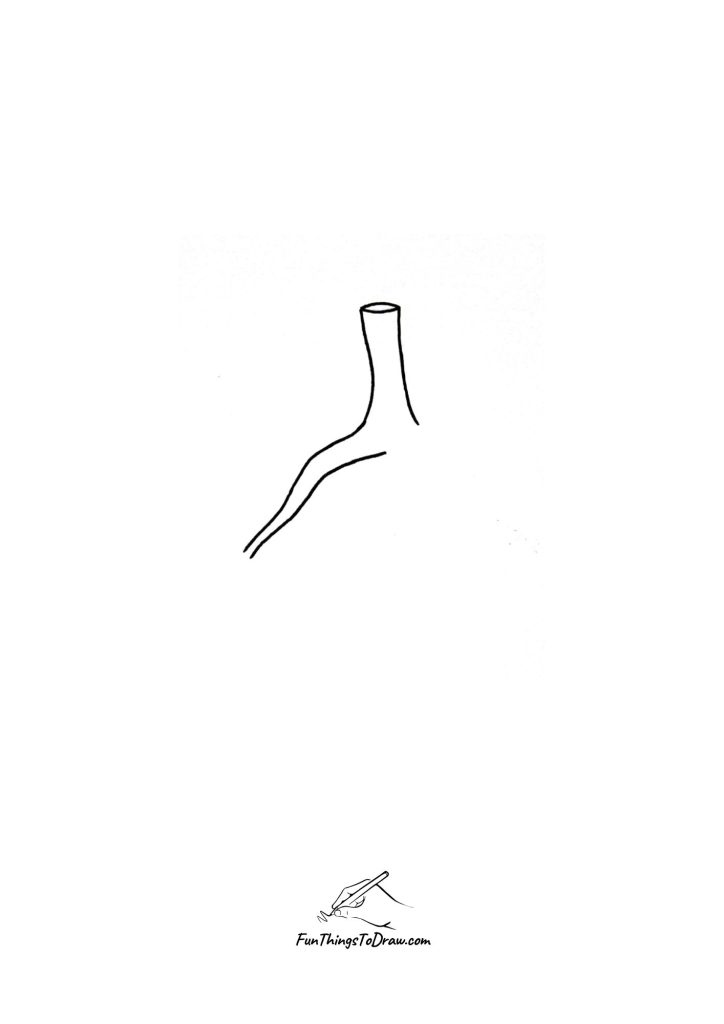
Step 1

Begin your drawing by sketching the trachea, which is the main airway leading into the lungs. Start with a vertical, slightly curved tube in the center of your page. Make sure the top is open and slightly oval to give it a three-dimensional look.
The sides of the trachea should gently curve outward as they move downward, hinting at the natural shape of the windpipe. This foundational step sets the stage for the rest of your lung drawing, so take your time to get the proportions right. Keep your lines light, as you may want to adjust them later.
Step 2
Next, extend two curved lines from the bottom of the trachea to form the bronchi, which are the main branches that lead into each lung. These lines should angle outward and downward, resembling the shape of a slingshot or a wishbone. Make sure both branches are symmetrical and flow naturally from the trachea. Use smooth, confident strokes to create a realistic branching effect.
Step 3
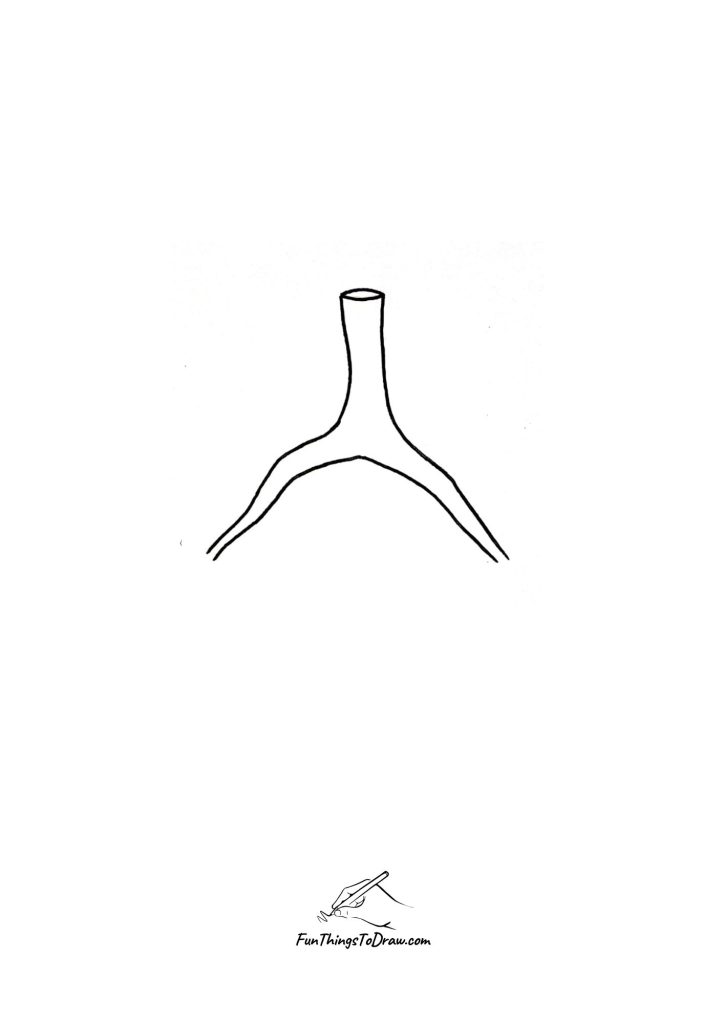
Next, repeat the above process to draw the second part. Make sure both branches are symmetrical and flow naturally from the trachea. Use smooth, confident strokes to create a realistic branching effect.
Step 4
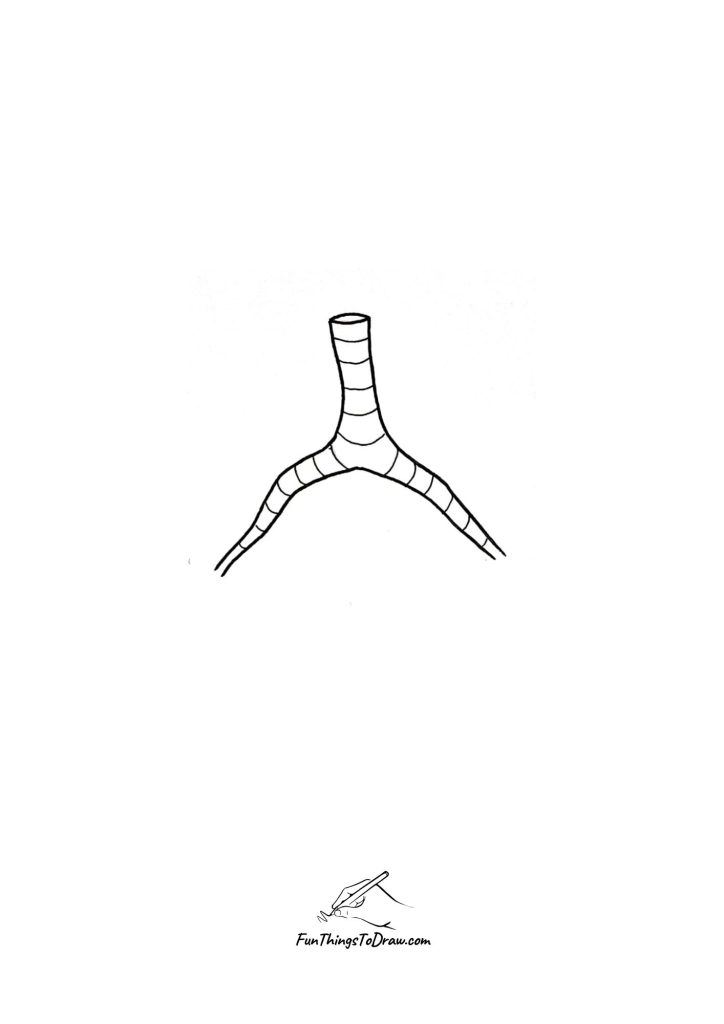
Finally, add detail to your drawing by sketching horizontal lines across the trachea and bronchi to represent the cartilage rings. These rings give the airways their ribbed texture and help reinforce their structure.
You can also lightly shade the outer edges of the lungs to create depth and dimension. Take a moment to refine your lines and erase any unnecessary marks. This finishing touch makes your drawing more realistic and visually interesting.
Step 5
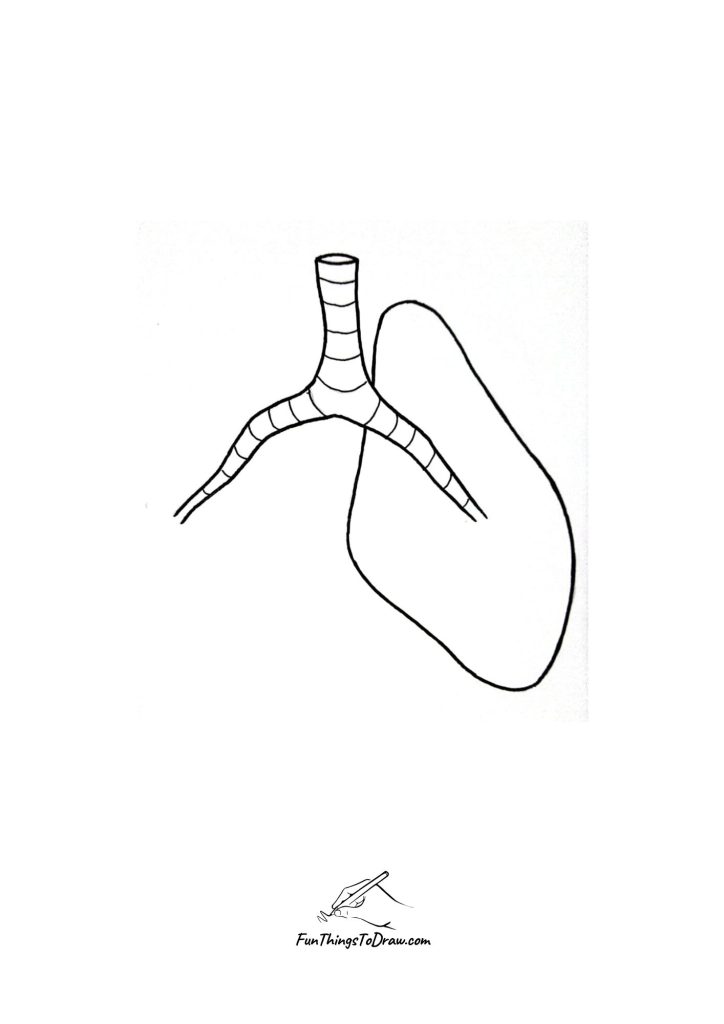
Now draw and oval shaped outline for one lung. The lung should look like a large, rounded balloon attached to the bronchus. Focus on getting the proportions right, as this will serve as the foundation for the rest of your drawing. Keep your lines light and adjustable as you work.
Step 6

Next, repeat the same process as mentioned in above step and draw a second lung outline. At this stage, your drawing should clearly show both lungs and the trachea, forming a symmetrical and balanced structure. Take your time to refine the curves and ensure both lungs look natural and proportionate.
See also: Small Drawing Ideas
Step 7

Now, add detail by drawing the bronchial branches inside each lung. Start from the main bronchi and sketch several smaller branches that spread throughout the lung, resembling tree branches. These represent the bronchioles, which carry air deeper into the lungs.
Vary the thickness of the branches, making them thinner as they extend outward. This step adds realism and anatomical accuracy to your drawing. Pay attention to the natural, organic flow of the branches, and avoid making them too straight or uniform. This detail brings your lung illustration to life and makes it more engaging.
Step 8
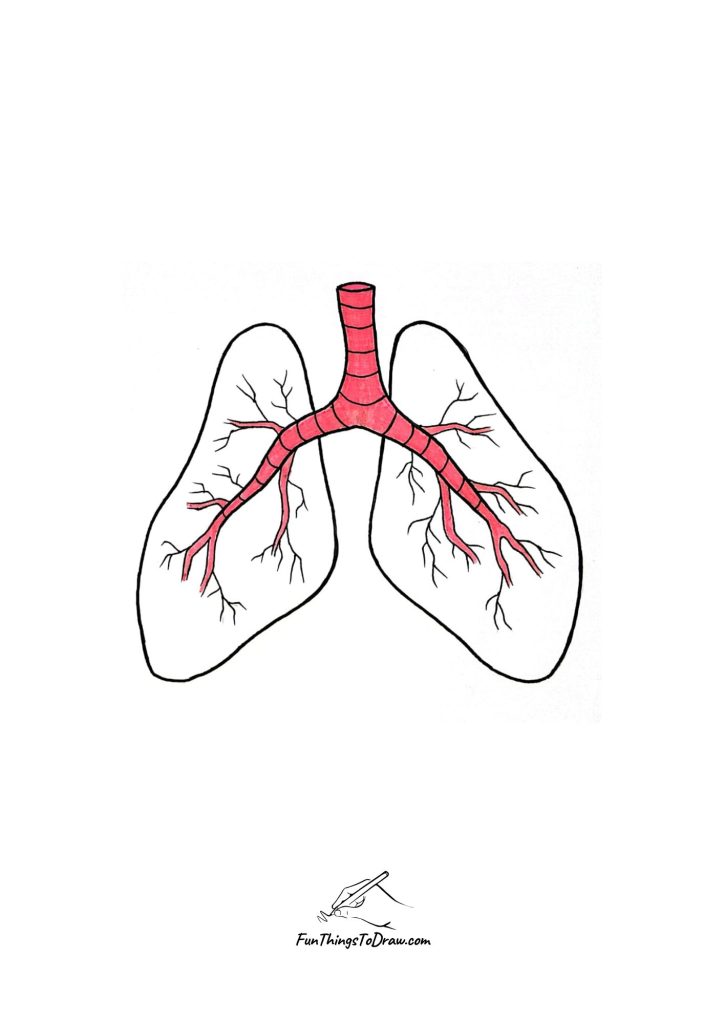
Finally, bring your drawing to completion by adding color and final details. Use a light pink or red shade to color the trachea and bronchial branches, highlighting the airways. You can lightly shade the lungs to give them a sense of depth and volume, but keep the coloring subtle to maintain a clean look. Go over your lines to make them crisp and erase any unnecessary marks. This last step enhances the visual appeal of your drawing and makes the anatomical features stand out, resulting in a finished, educational illustration of the lungs.
Step 9

This drawing beautifully illustrates the final stage of creating realistic lungs, showcasing both structure and detail essential for an educational diagram. Finish by coloring the lungs in soft pink, using light shading to create a sense of volume and dimension. This approach results in a clear, visually appealing representation of the lungs, perfect for educational or artistic purposes.
See also: July Drawing Ideas