Easy Stitch Drawing | How to Draw a Stitch?
If you’ve ever been charmed by Stitch’s mischievous grin and big floppy ears, you’ll love bringing him to life through drawing. This step-by-step guide will help you create your very own version of this lovable alien character from Lilo & Stitch.
How to Draw a Stitch?
This tutorial breaks down the drawing into easy, manageable steps. Grab your pencil, follow along, and by the end, you’ll have a colorful and cheerful Stitch that captures all his quirky personality.
Let’s get started on this fun drawing journey!
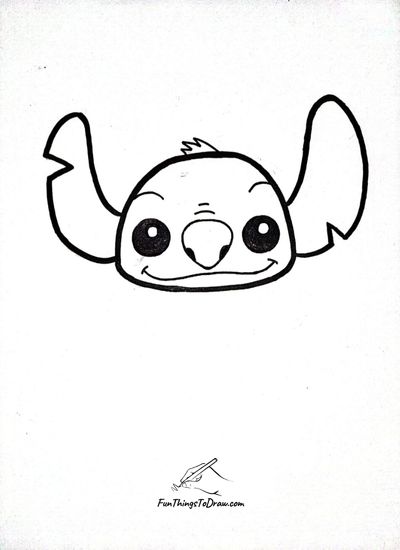
Step 1
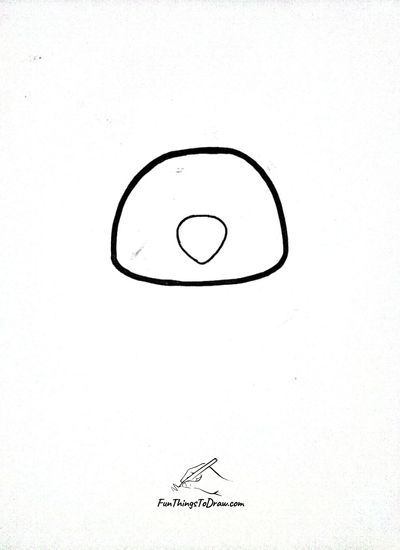
Begin by drawing a rounded shape that looks like a wide oval or upside-down bowl. Inside this shape, draw a small, teardrop-shaped nose in the center. This will form the basic outline of Stitch’s head and his cute nose.
Step 2
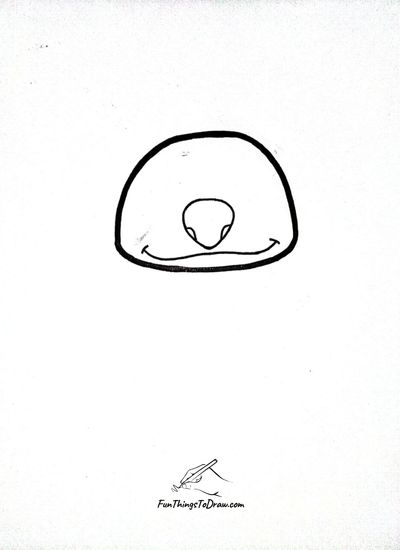
Draw two curved lines extending from the bottom sides of the nose to the edge of the head to form Stitch’s smiling mouth. Add small nostrils to the nose. These curves give Stitch a friendly and happy expression.
Step 3
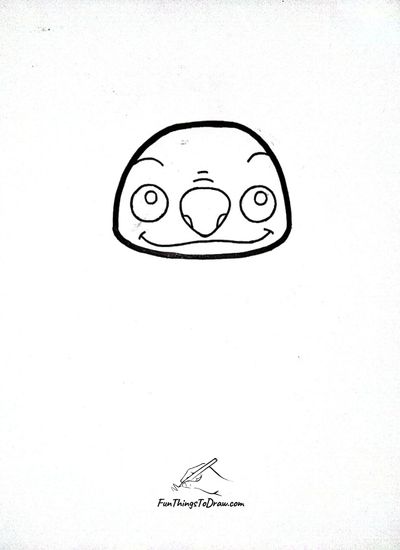
Next, draw two large round eyes, one on each side of the nose. Add tiny circles inside for the pupils. Then sketch simple eyebrow curves above each eye and a few curved lines on the forehead to show wrinkles. Now Stitch’s face starts to show personality.
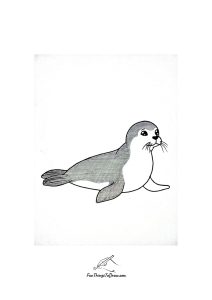
See also: How to draw a seal?
Step 4

Color in the eyes completely black, leaving a small white spot in each for shine. Then draw a small spiky tuft of hair at the top of Stitch’s head. This step makes Stitch look more lively and cartoon-like.
Step 5
Now draw Stitch’s large ears—one on each side of the head. The ears are tall, wide, and slightly pointed, with a curve on top. You can make them fun and floppy by bending the edges a little. This is one of Stitch’s most recognizable features.
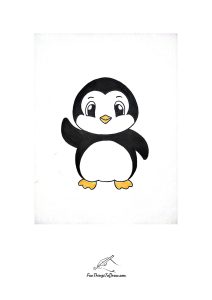
Check also: How to draw penguin?
Step 6
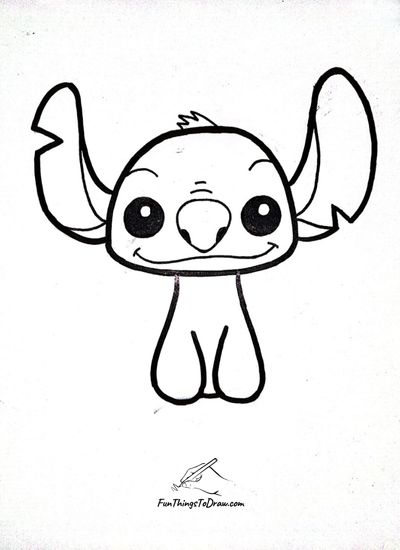
Start drawing Stitch’s body by adding a short neck and two front legs beneath the head. The legs are rounded and sit close together. Add two short lines at the bottom to show the separation of his toes.
Step 7
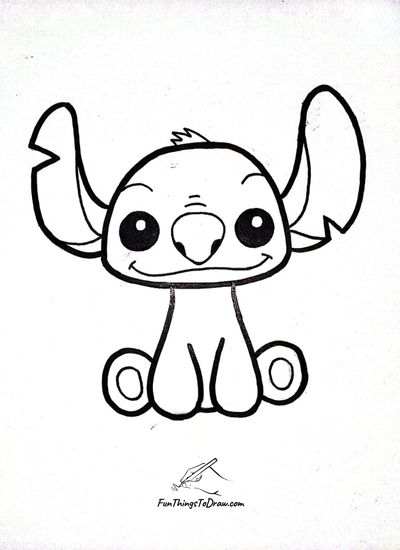
Draw two circular shapes on each side of the front legs for the back legs. These are Stitch’s feet when he is sitting. Inside the circles, draw smaller ovals to represent the soles of his feet.
Step 8
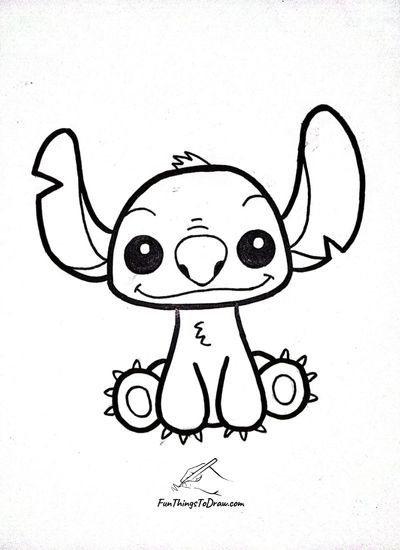
Add small triangular shapes around the feet to draw claws. These are Stitch’s little toes sticking out. You can also add some squiggly lines on the body for extra fur texture. Now the body looks more detailed and fun.
Step 9

Finally, color in your drawing! Use blue for Stitch’s body and face, and light pink for the inside of his ears and foot pads. You now have a bright and colorful Stitch ready to go!
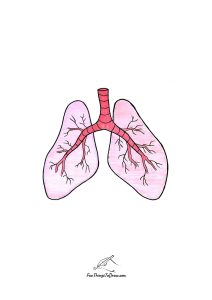
See also: How to Draw Lungs?